


First of all, you need to open up the Fresco and draw the background. It doesn't have to be a perfect drawing. It can be just colored like this one here. It also can be something you drew on some other software. Just make sure you're choosing the right size.
Then Open up the InDesign and start creating cells, tabs and binder rings.
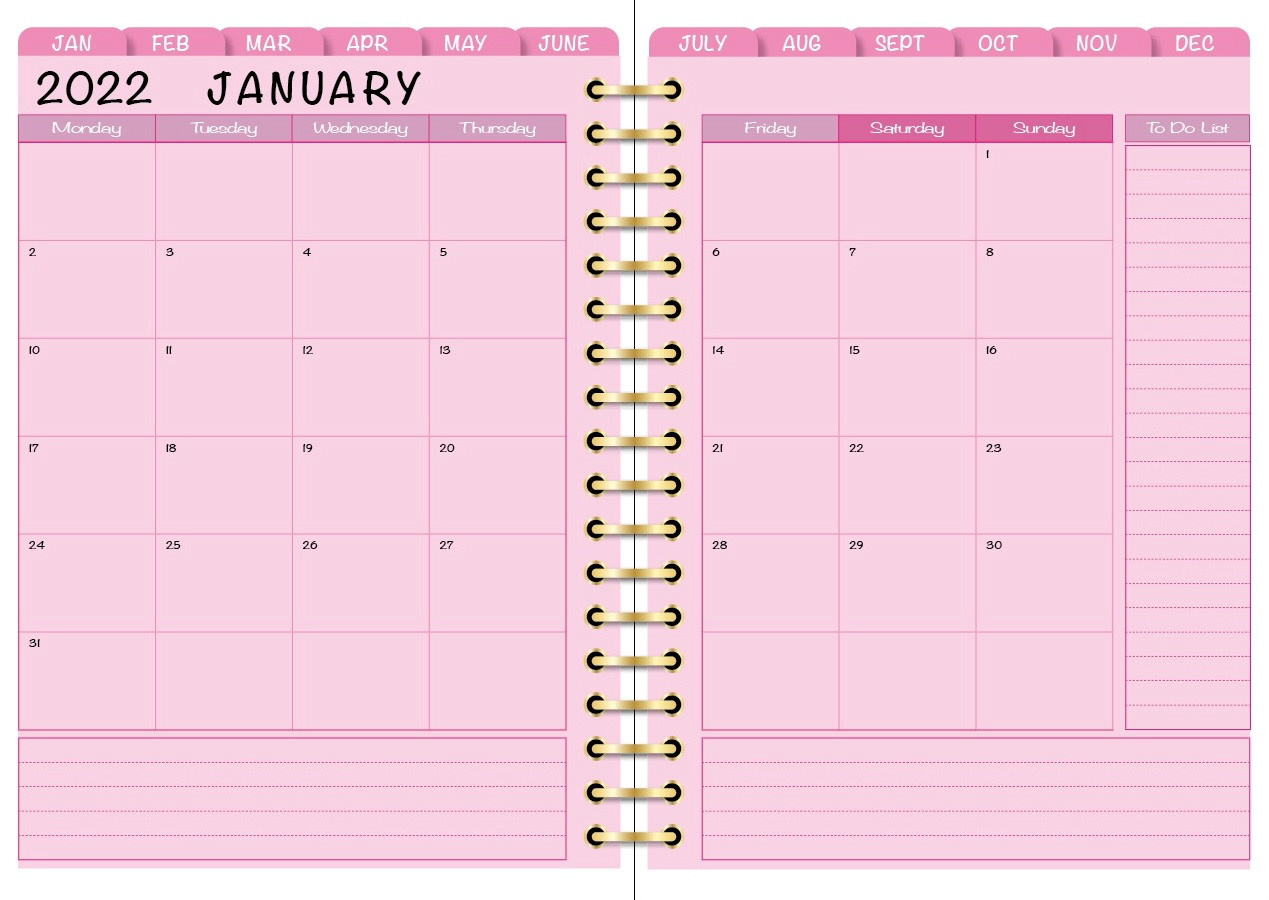
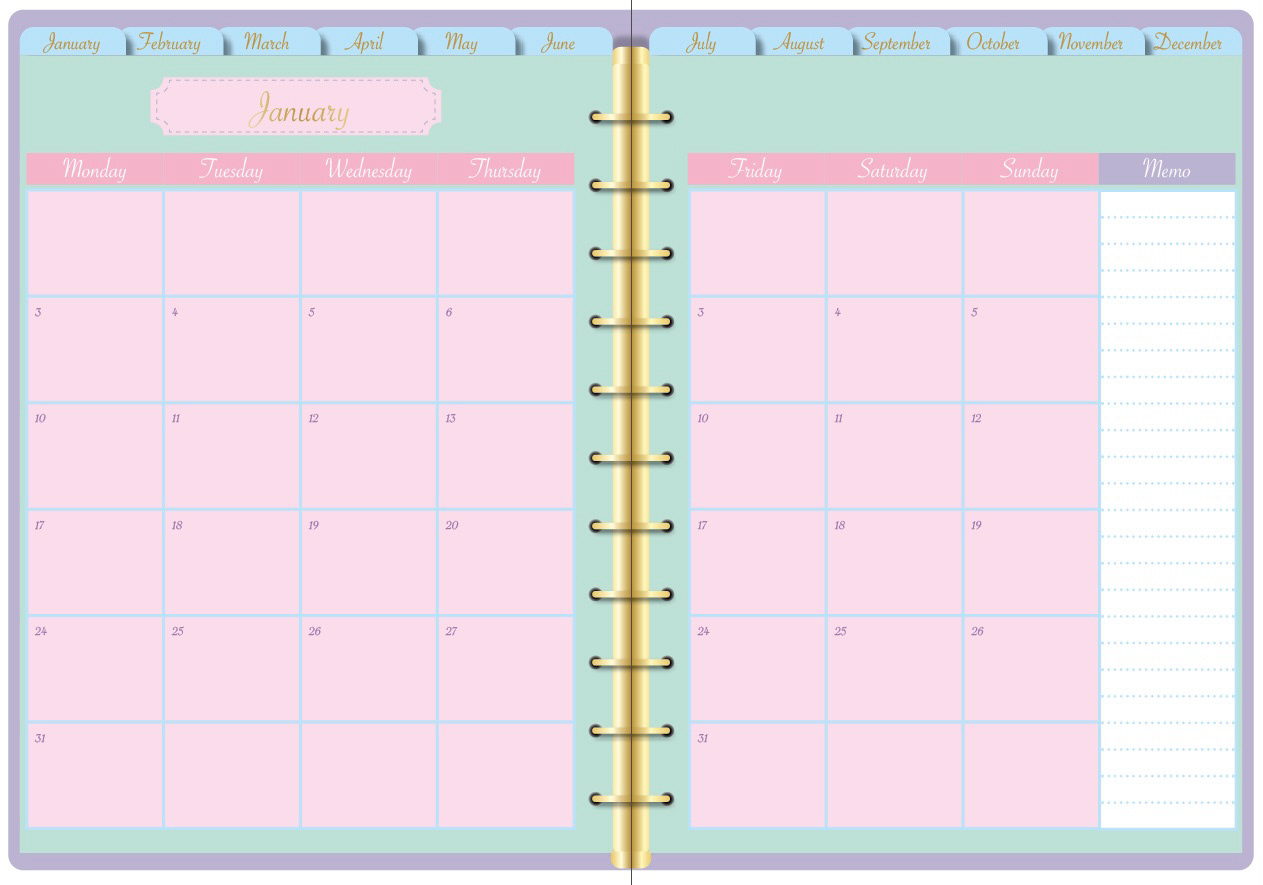
These are ones I made in the past.
It's easier if you first decide the swatch and follow that color scheme.
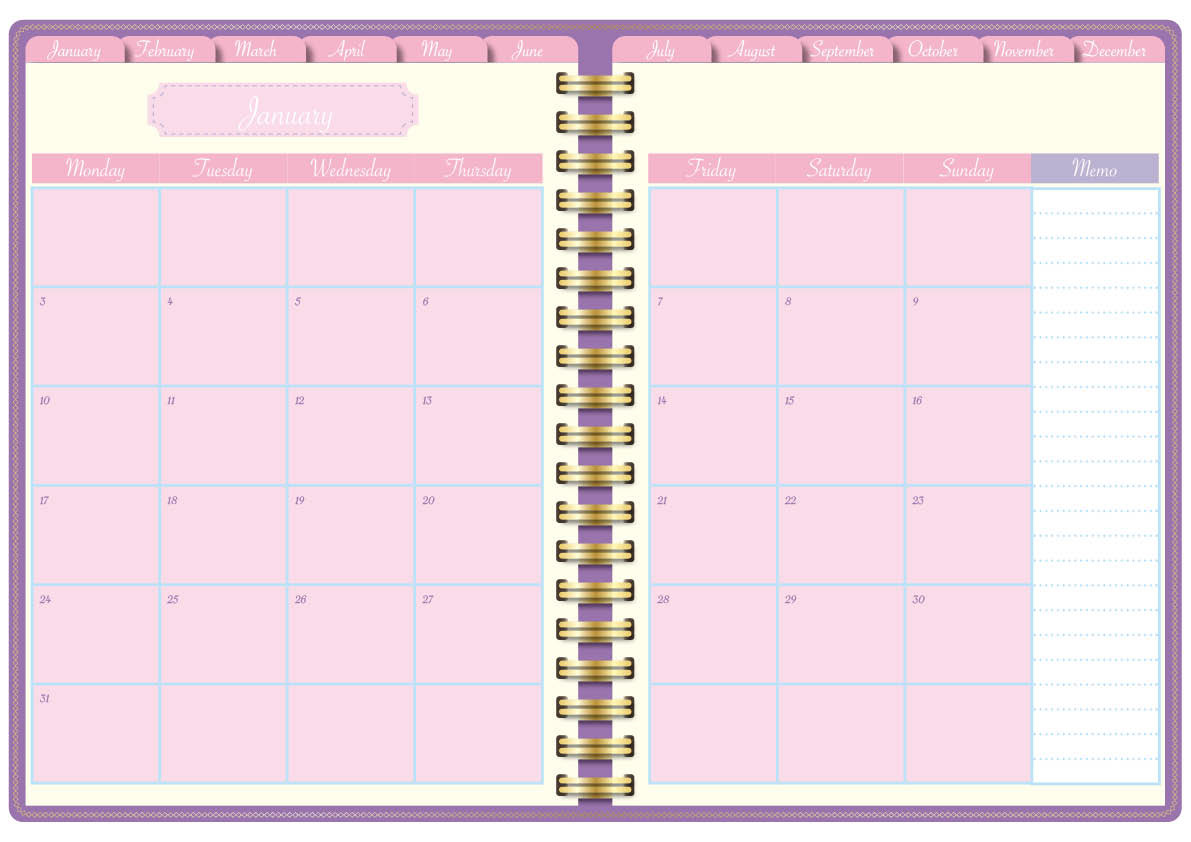
When you're finished with the layout, what you need is to add the link to the places you want to jump pages. For example, tabs on the tops.
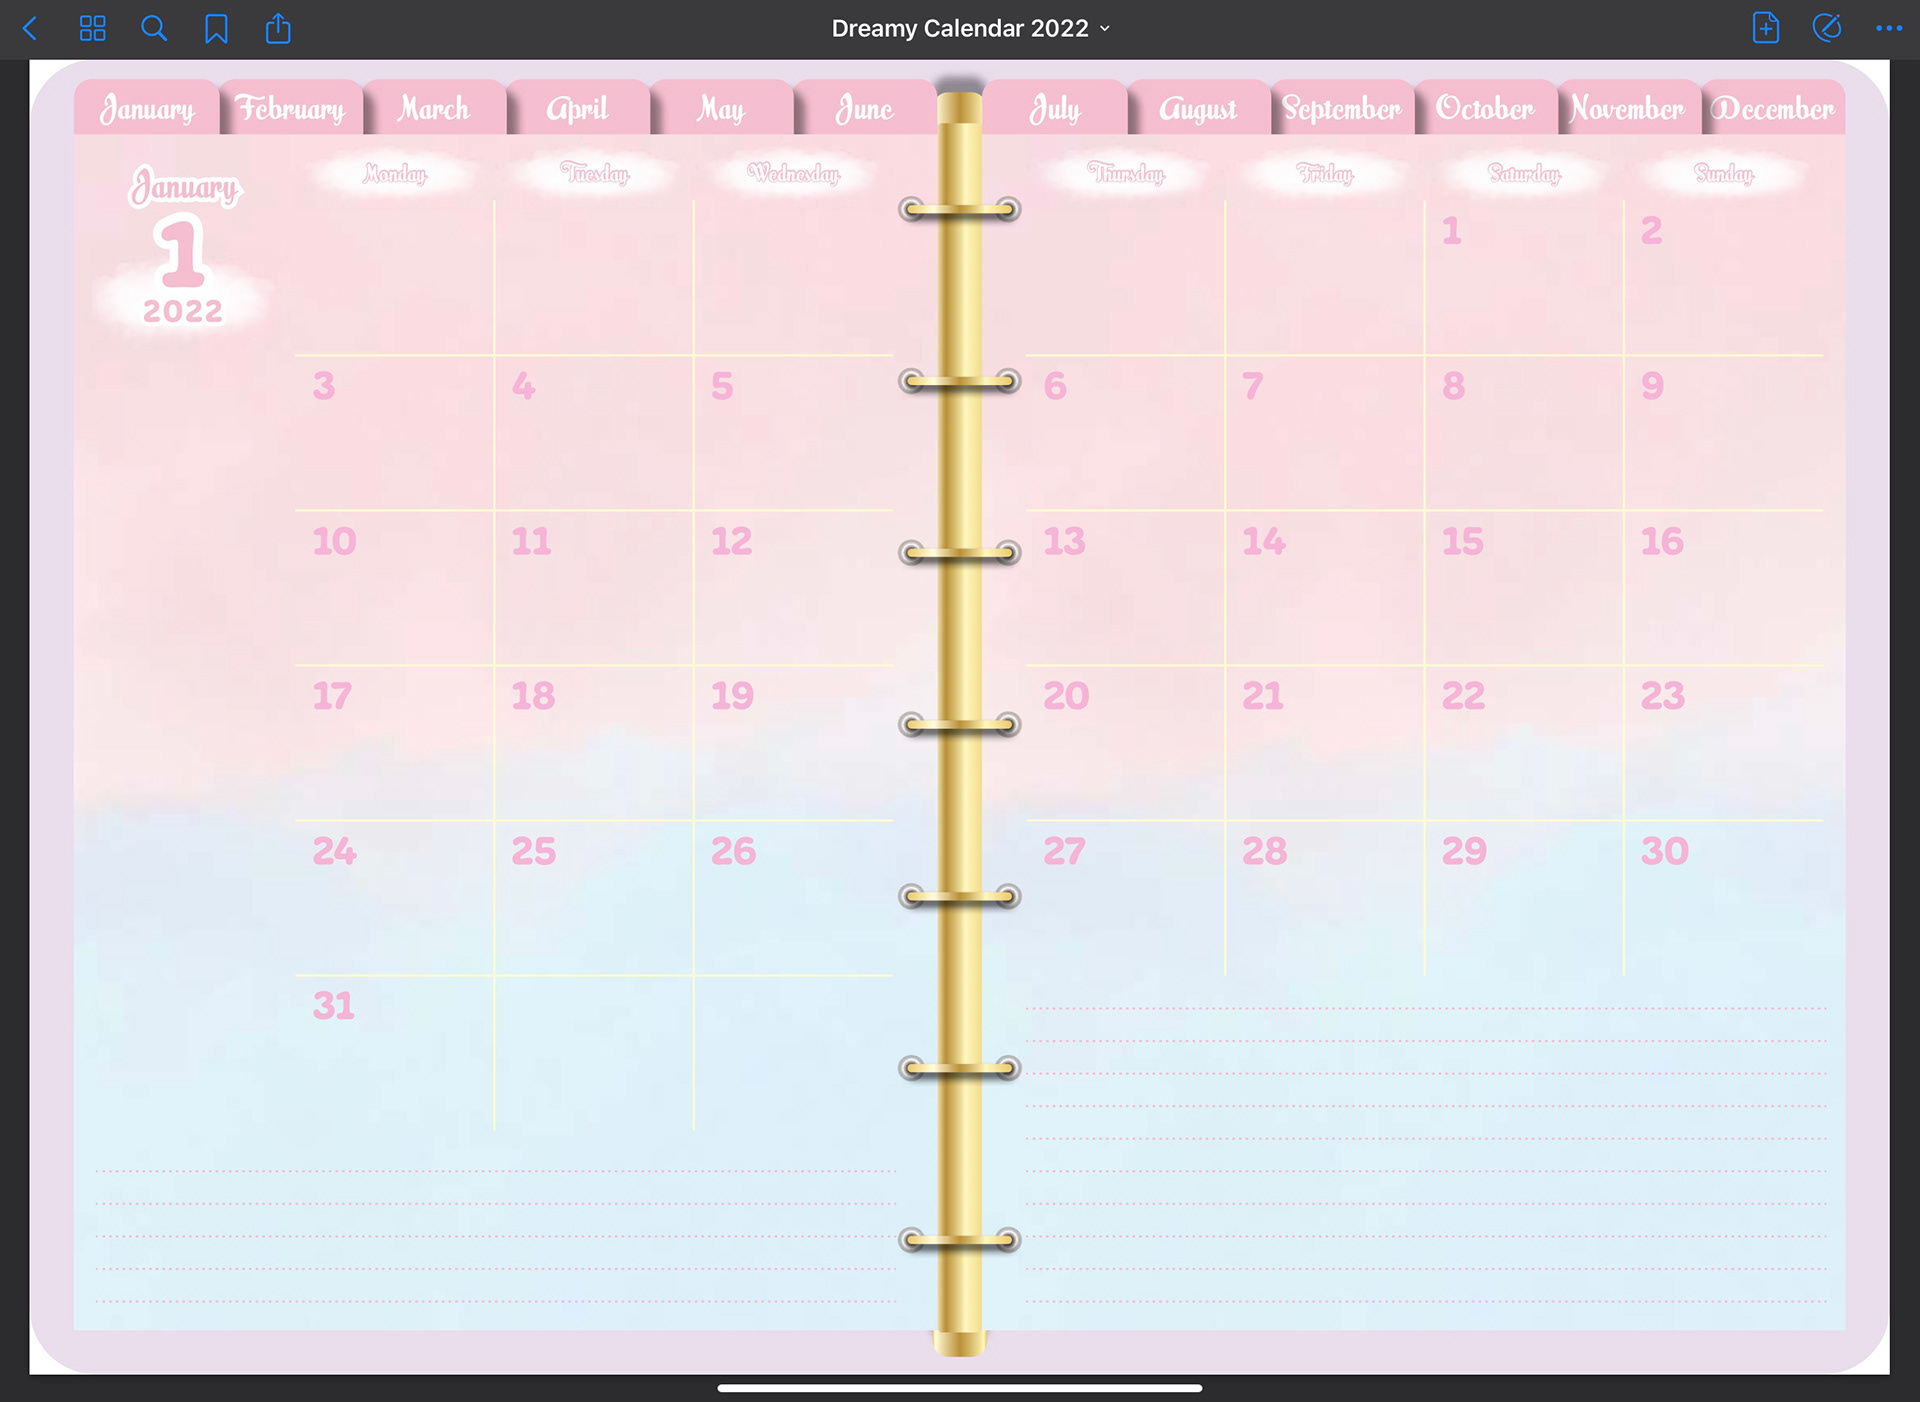
Here's the final look of the digital planner. You can make little parts with the Fresco, the illustrator or any other software. I made the cloud with the Fresco.
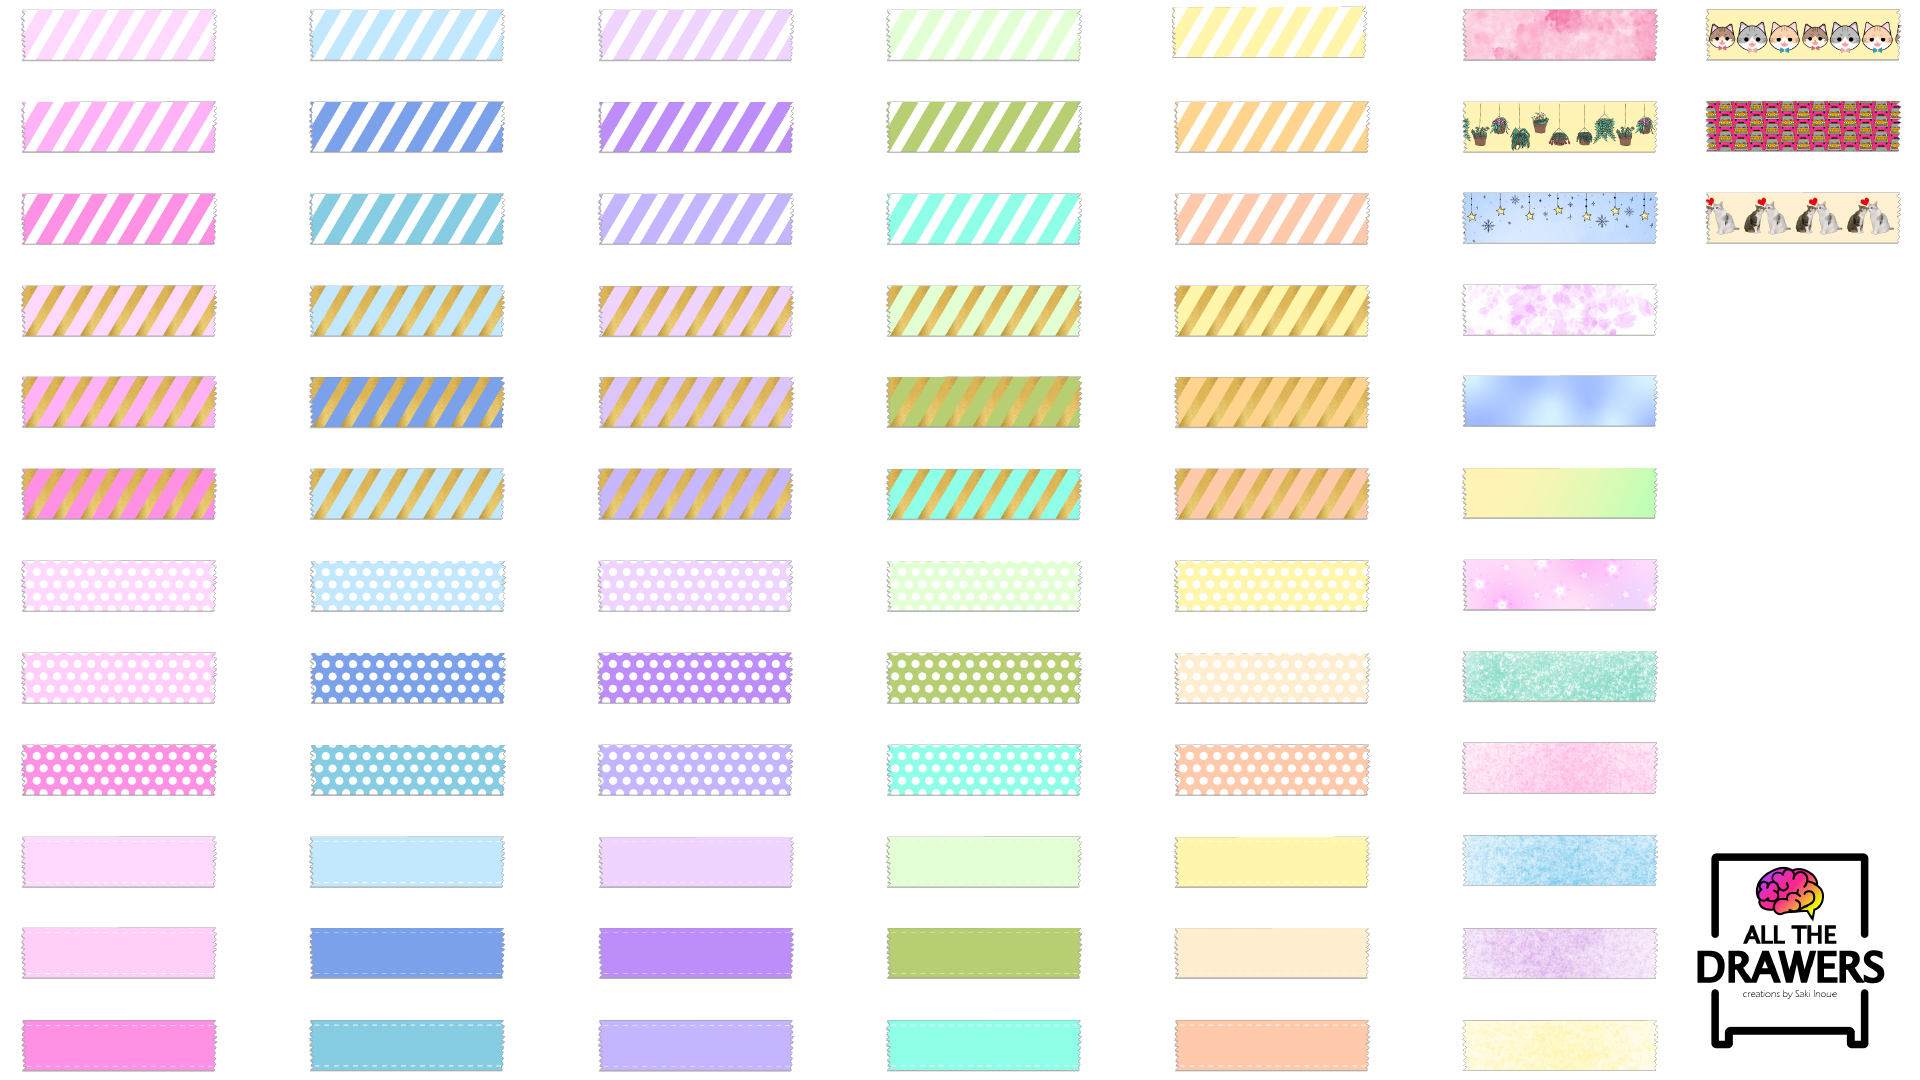
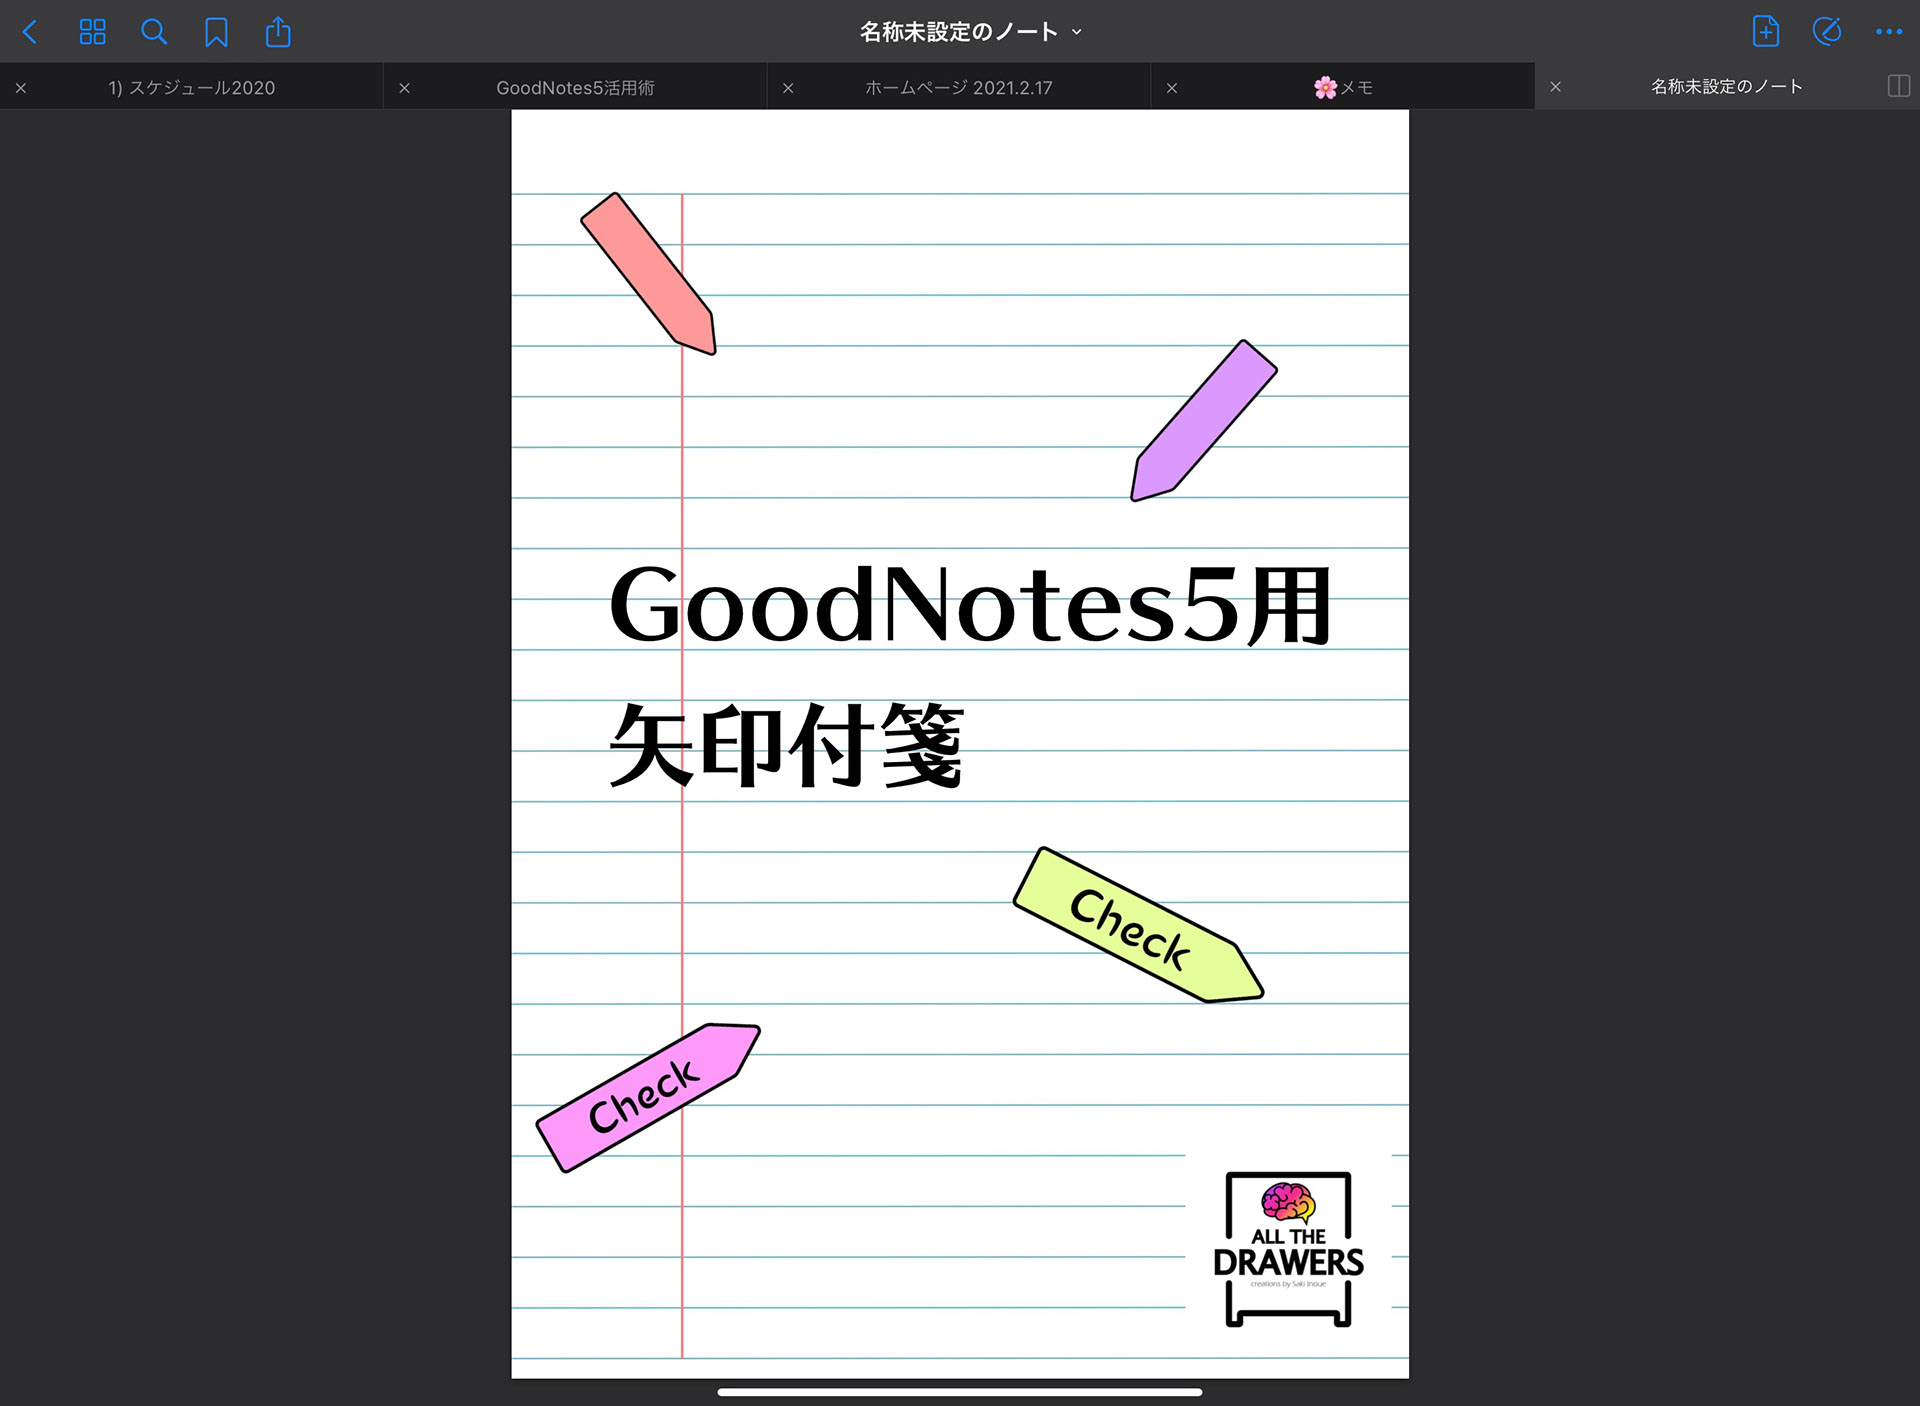
You easily can make washi tapes and post it using the illustrator on the iPad.
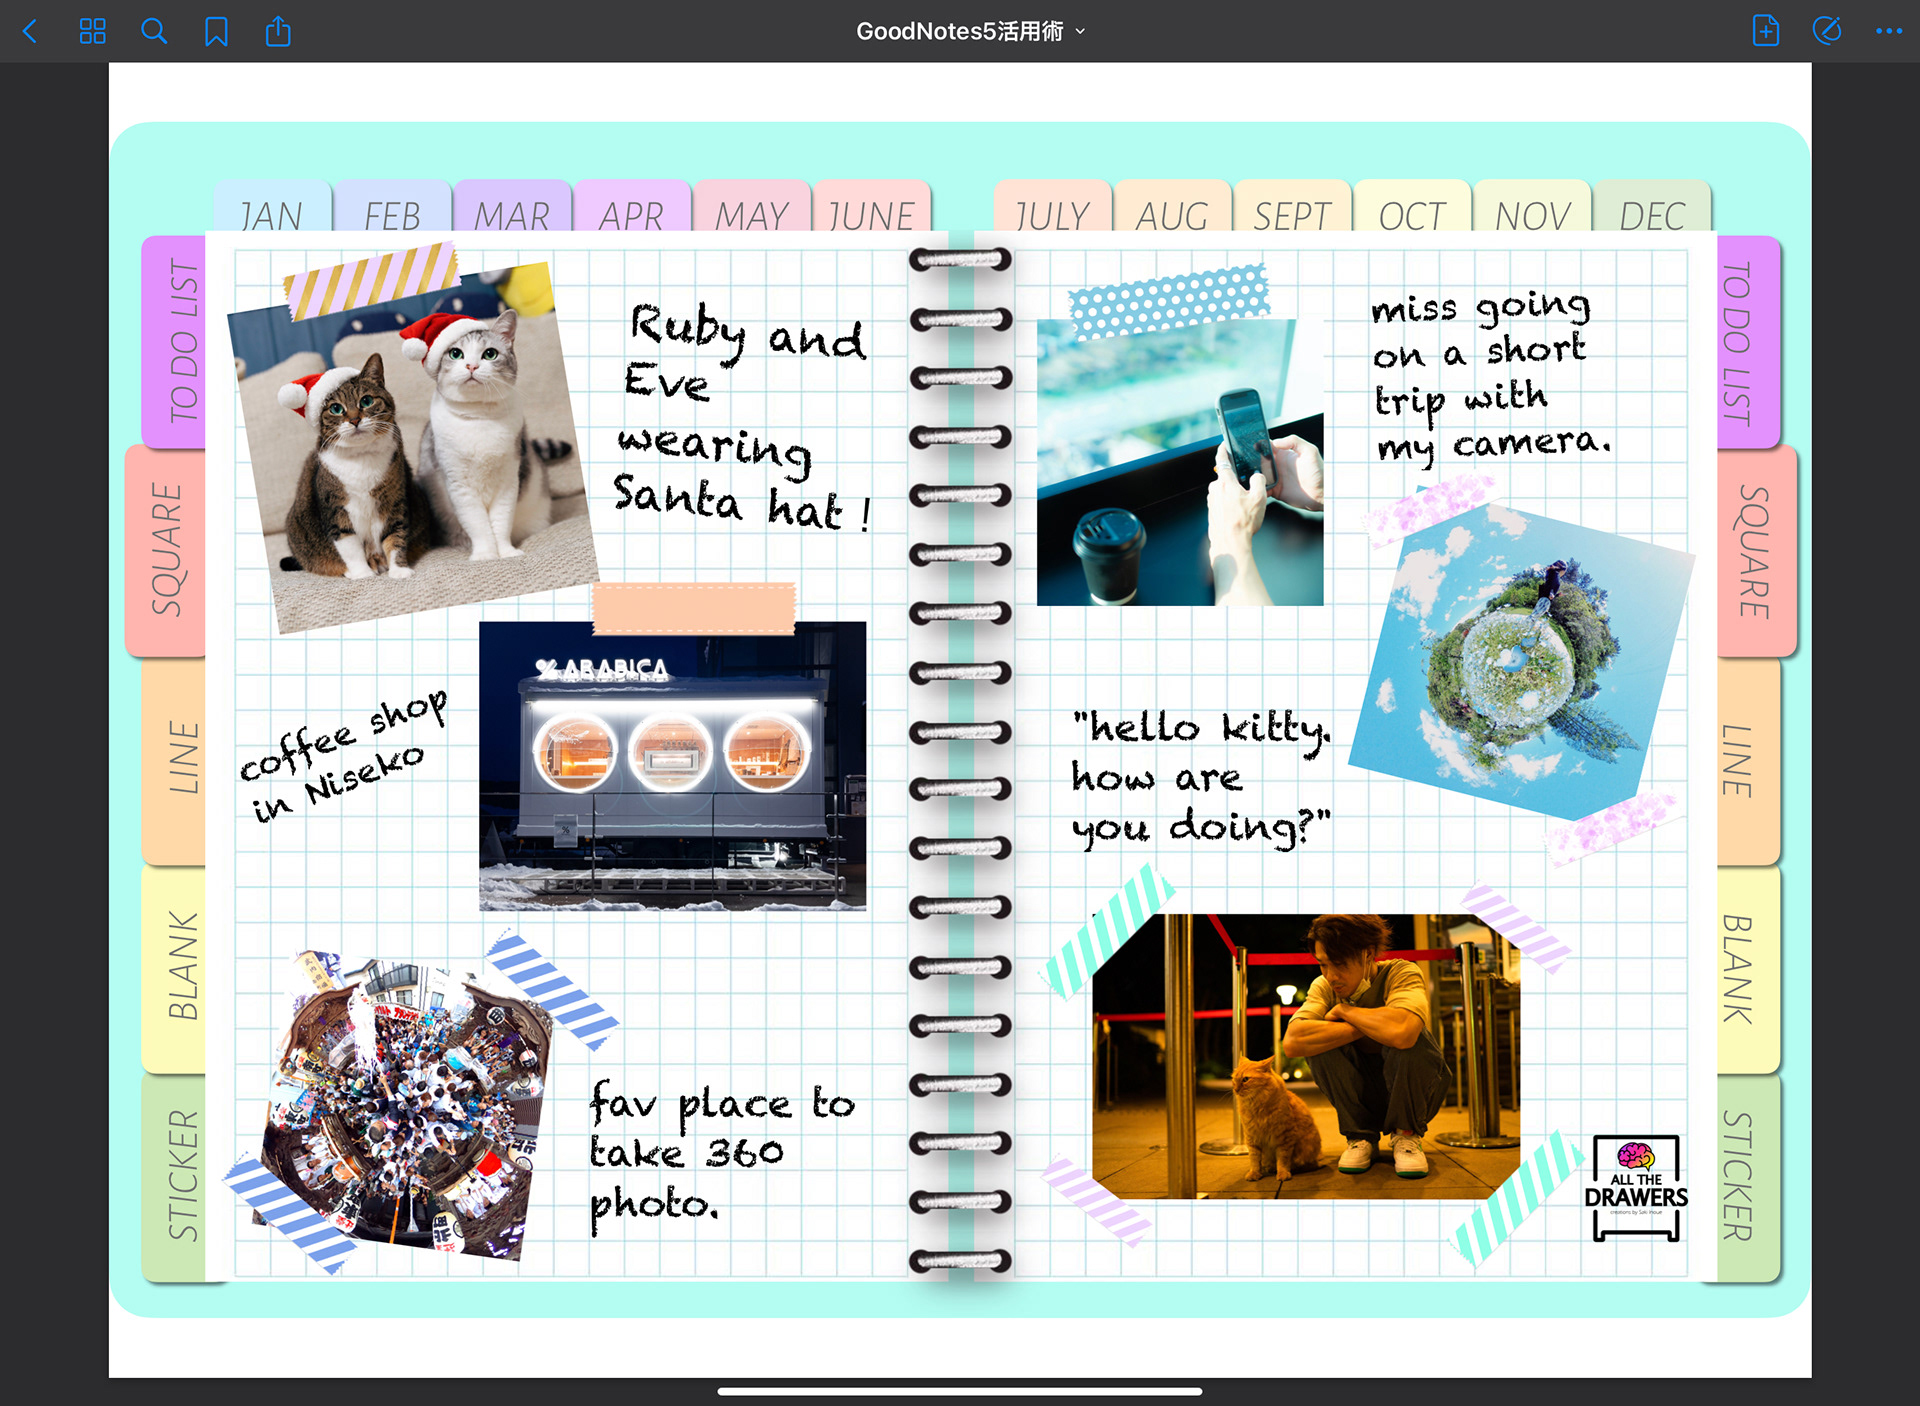
These items will become very useful and cute to decorate the digital planner.
So this is everything about how I make the digital planners. Hope it gave someone an idea!